Arduino LEDs - A beginner's guide
How do I LED?
You want to do cool ass LED projects but have no clue where to start? I did too!
But Lenny and me figured it out and now I can share what I've learned with you. Sounds good? Let's get started!
But I'm a n00b!
That's alright! We all are at some point and getting an LED Arduino setup to work is easier than you might expect. I don't think you need any preliminary skills other than a little bit of C(++) coding ability. But even if you've never written any C at all, this could be a nice way to pick up some basics. Just follow along, have a look at the examples and tinker with the code as you'd like.
What we need
An Arduino
These are so-called microcontrollers. You can think of them as very basic computers with limited capabilities. In general, they can do one thing at a time. In our case they are going to control our LED strip. There are numerous ways to get a hold of Arduino boards and there are many different kinds out in the wild. The most common model (afaik) and the one we used is the Arduino Uno. I suggest you look around on your own, the official Arduino-branded versions are a bit pricy. However, since the hardware design is open-sourced there are cheap knock-offs to be found everywhere. I will not make a recommendation at this point, but I'm sure you'll manage to figure this out on your own :)
An LED strip
Again, there are tons of different models out there that work with Arduinos. Since we're using the FastLED library, I suggest looking for one of these.
Probably the most common version is the WS2811/12(b), also known as the NeoPixel, which is the one we went with. Yet again, there are several ways to acquire these strips and it is left up to you how and where you get your hardware.
A power supply
This one was a bit of a troublemaker for us. We looked at the LED strip datasheet and it mentioned a maximum power need of 20 mA per LED. Considering there are three LEDs per unit (red/green/blue), and (in our case) 60 LEDs per meter on a 5 meter strip, we came up with 18.000 mA total. Which is a lot.
The employees at our local electronic store gave us weird looks when we asked for an 18A power supply and received similar looks from us when they explained they don't have anything beyond 8A. We ended up getting a 2.5A power supply and tested it with just half a meter of leds, which worked just fine.
We later received a very helpful (and somewhat obvious) explanation from mrks: Our math is right, technically we would need 18A to power all the LEDs at full brightness (each LED at their full value of 255). But in a practical environment, you would never really want such a thing. For once, 255 is very bright, and I mean it. While playing around with it in our room, even a value of 100 for a color gave us headaches pretty quickly. Secondly, your color always assembles as a composition of the three different LEDs and for every color other than white, at least one of the LEDs is not going to need full power. And since we want to do animations, more often than not there are only a few LEDs turned on at once.
So what's my point? You really don't need an 18A power supply. As I mentioned, we went with 2.5A, and I would confidently power up to 2 meters with it. Of course, if you really try to break shit, you are going to be able to, but if you take the aspects above into consideration, you should be fine. What's important though is that the voltage is exactly 5 Volts. Numerous people have warned that more or less could seriously damage your board.
And yeah, this is how we did it. Don't hold me accountable if you fuck up! :D
This power socket thingy
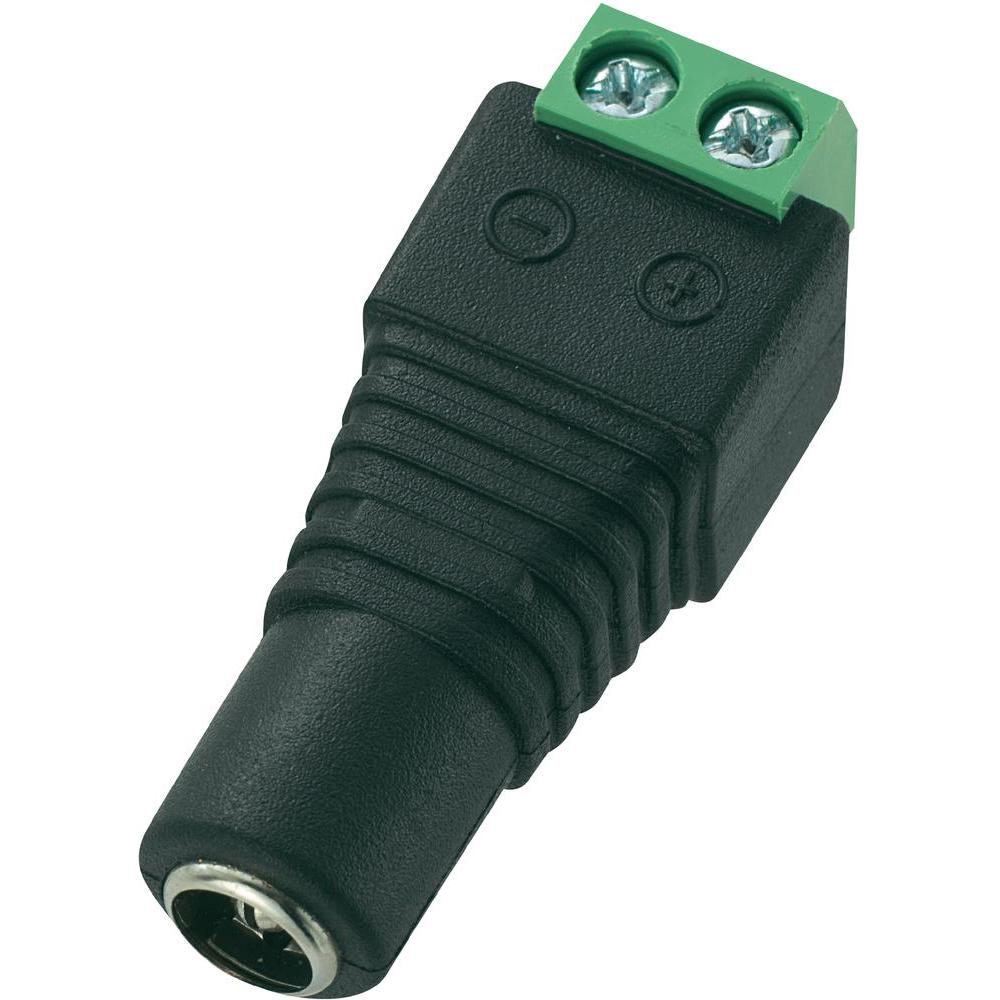
You need this to connect the power wires of your LED strip with the power supply. Unfortunately I couldn't figure out how this is called in English, I'd advise you just look around or ask at your local electronics store. Make sure it fits your power supply (female connector, correct size). The version on this picture uses screws, we've had a bad experience with this kind (didn't hold the wires reliably, broke eventually). If you can find one with a spring-clip-ish mechanism, I'd suggest using that.
Setting it up
After you got all of the above items, you need to assemble them to a setup that looks somewhat like this (source):

Make sure you hook up the correct wires to the voltage and ground (usually red = voltage = +, white/yellow = ground = -), otherwise everything will turn very hot very fast ~~ (I speak from experience) ~~. Besides that, you need to attach the data wire of your strip to one of the data pins on the Arduino and another one to ground (GND). The picture above has another "clock" wire, our strip didn't but that didn't change anything for us.
And that's it! Now you should be able to connect your arduino via USB and get started coding!
The software side
If you've made it this far, you're almost done. There are only a few steps left to enjoy your LED strip in all of its RGB glory. First, you need to set up an Arduino development environment. I recommend the official Arduino setup guide, I probably couldn't explain it better if I tried.
Now that you have the Arduino IDE up and running, you need to get the newest version of our little library. We've mapped out the setup steps here, and I don't have much to add to it.
After you included the JigglyLights and FastLED libraries and added your strip in the setup function, it is time to get creative in the loop()-method.
To use our animations you need to create an instance of our class like this:
JigglyLights jiggly;
You can then call any of the functions found in the class header using that instance, e.g.:
jiggly.runner(leds, NUM_LEDS, CRGB::Red, 1000);
This would be our "runner" animation, basically a single light "running" from left to right and back. You can find information on all the parameters in the header, usually they include the LED array and the number of LEDs (which is always the same), as well as your desired color and the preffered duration of the animation.
If you can't decide on a color, you can pass CRGB::Black on some of the animations and it will run them with random colors.
And that's it! :) I hope this was helpful, as always feel free to hit me up with questions @twitter or .